Quick Links
Whenever you encounter a fort inUnicorn Overlord, you’ll almost certainly run into a character who is willing to spar with you and show off what their class is capable of doing. While at a glance, these appear to be simple tutorials. However, if you defeat every unit, you will be handsomely rewarded.
Once you start aiming to defeat every unit in a single round, you’ll realize that these encounters are, essentially, puzzles. You will need to find the right combination of units to perfectly counter the teams you spar against. We’ll break these encounters down for you and give you everything you need to achieve total victory and cash in big.

About Sparring Battles
Nearly every fort will feature a sparring battle. You will know which ones these are as they will have a speech bubble hovering above their heads. Nothing will happen if you win or lose. However,if you defeat every last enemy combatant, you will receive 2000 Gold.
Preparation For Sparring Battles
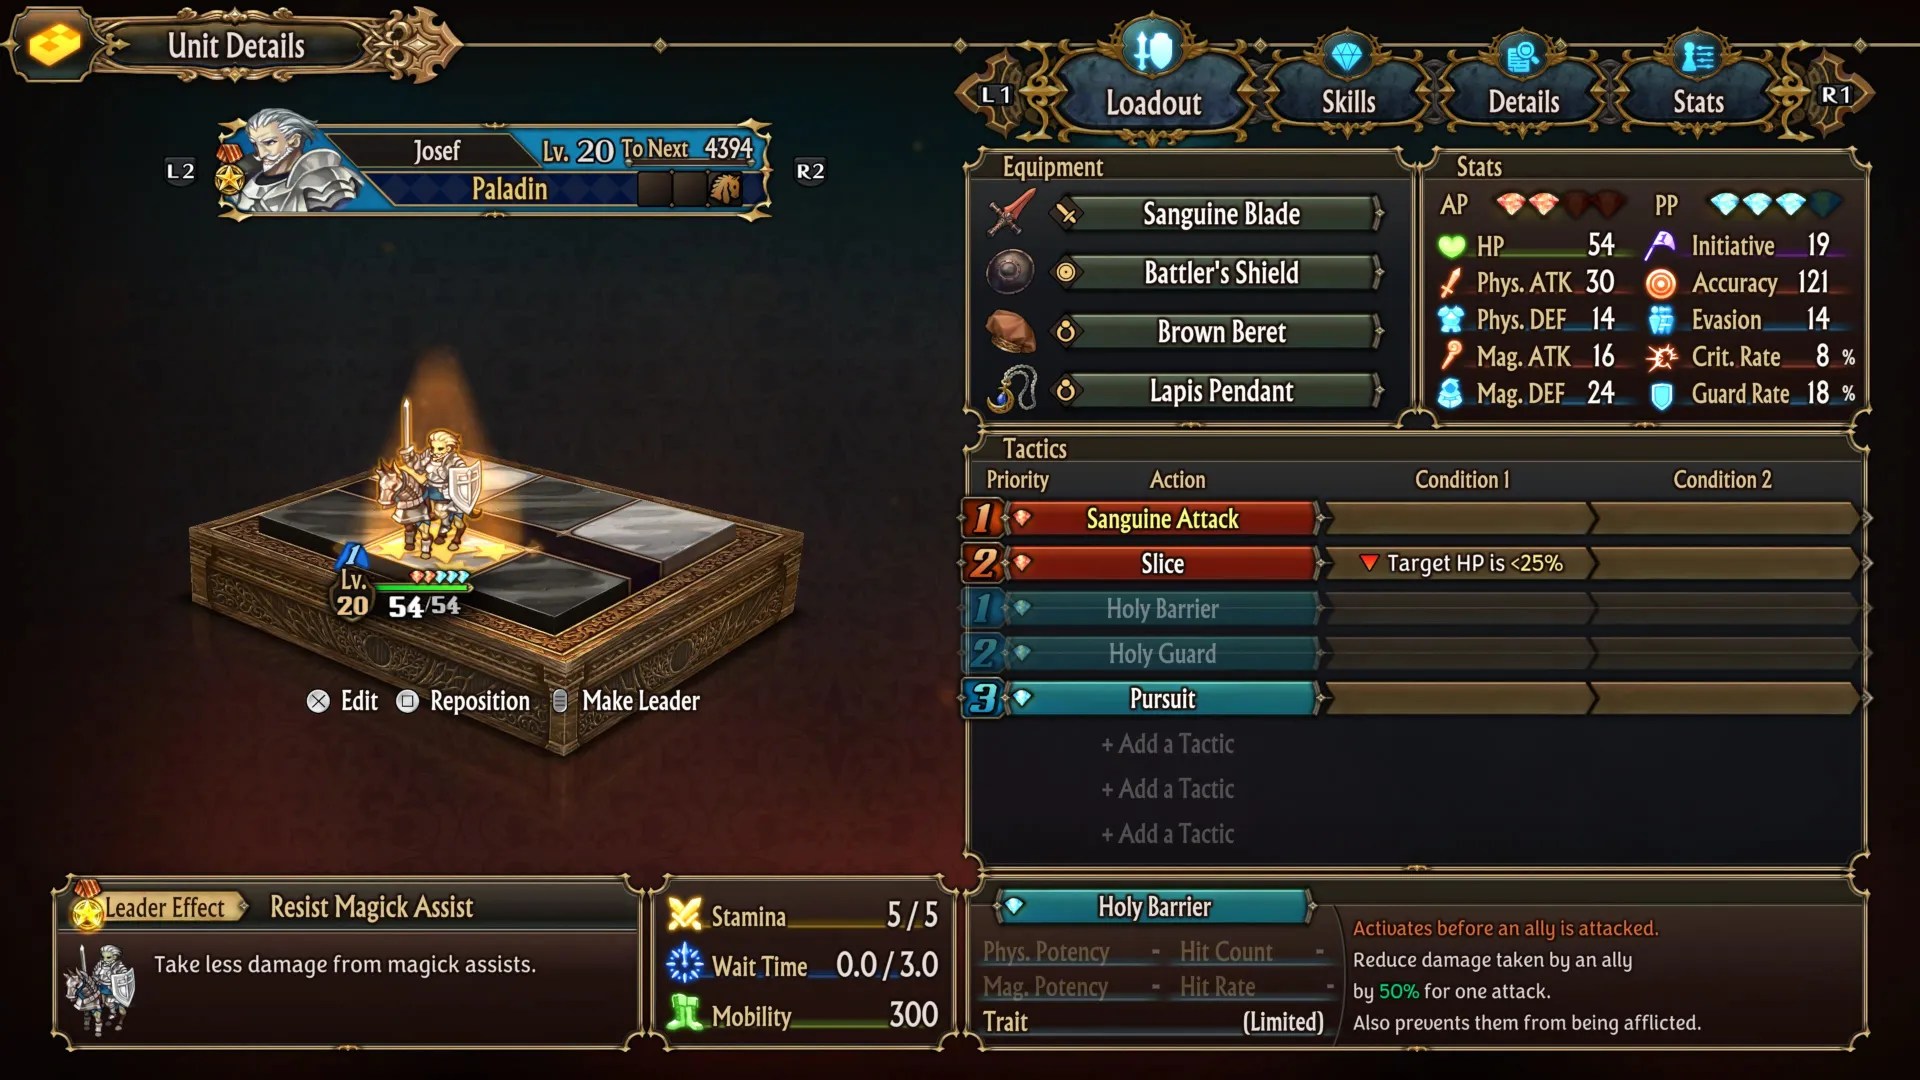
It may go without saying, but since these are one-round affairs,you need to disable any skills that would be used primarily to enhance survivabilityacross multiple rounds. So, more often than not, we don’t want our troops healing. Josef shouldn’t be wasting AP or PP on healing his allies (unless we say otherwise).
The moment you get aLapis Pendant, put it on Josef so that he can get another Pursuit attack. You can purchase one from theDivine Shardshop.

Additionally,you are going to want to pile your best equipment on these characters. Don’t hold back. Give them the best of the best equipment. you’re able to return those items after the battle has been won.
This guide has been written to provide you with options to win when you first encounter them.This means we are going to suggest using Josef for most of the earlier spars.

A Detailed Breakdown Of Each Sparring Battle
We have listed each sparring battle in order of the level of troop each encounter contains.If you travel around Cornia clockwise, defeating each sparring battle you encounter along the way, the list below will also follow that order (more or less).
Back Row
Lv.2 Housecarl
This battle is pretty easy once you unlock Rolph. Just throwRolphandClivein the back row and haveJosefcover the front.
Lv.2 Soldier
While Hoplites are generally extremely tough, Josef is so over-leveled at this point that he will be able to take this one out with his pursuit ability. We recommend puttingJosefin front, withAlainandAubinin back.
Josefin front with basically any other two characters in the back is enough to utterly trample this group of Housecarls.
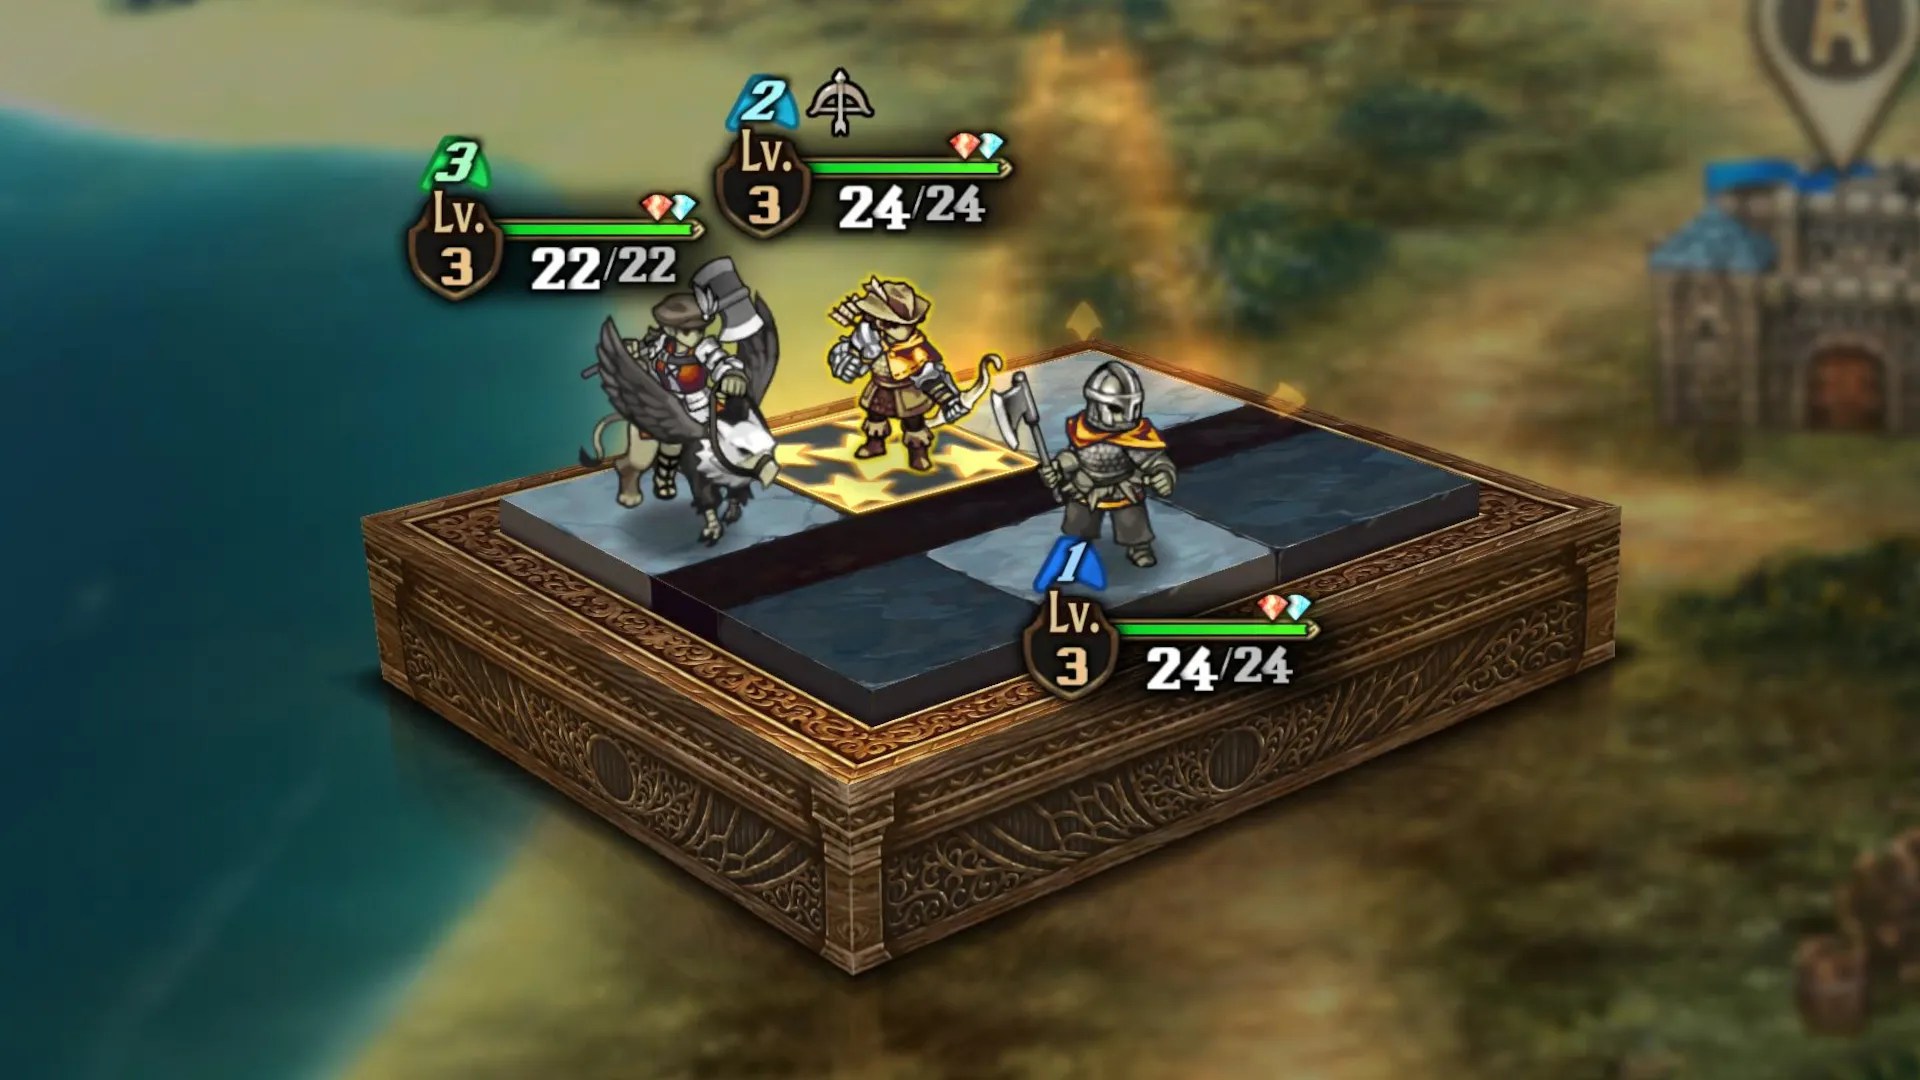
Lv.3 Gryphon Knight
Lv.3 Archer
PutRolfin the back row to deal with the Gryphon Knight,Clivein the back to pile on damage, andJosefin front to polish them off.
Lv.3 Housecarl
We simply need to pile on damage for this one, so we are going to rely onJosef’sPursuit andClive’sAssault Lance. Anyone else can be your third (as long as they attack, so no clerics). You can just keep the same party as the Fort Rimitz sparring battle.
Lv.4 Cleric
We can make it three in a row, we’re going to, once again, pile on withJosef’sPursuit andClive’sAssault Lance. Any other attacking unit can be your third, butRolfis particularly good here, as he can target the Clerics in the back row.
Lv.5 Witch
For this battle you will want to have a Warrior on your side, so make sure to complete theBattle for Barbitamo questfirst. The Warrior (ideallyMordon, unless you executed him) will take out the Hoplite, while you putRolfand another archer in the back.Make sure Warrior is set to target Armored Units, and your Archers are set to target Casters.
Depending on your level, you may need to load your Archers up with the best accessories for buffing attack power.
Lv.4 Wizard
We simply needMordonhere to take out theHoplite, and we’ll finish the rest off withJosefandClive.
Lv.6 Housecarl
The key to this battle is very simple. You need a Gryphon Knight. They’ll take out the front row on their own. However, for overkill, go withJosefin front, with theGryphon KnightandClive(or Adel) in the back row.
If you don’t have Fran currently in your party, you can recruit a Gryphon Knight at Fort Mainteneaut.
Lv.6 Sellsword
This is another one where we are looking to just dish out as much damage as humanly possible. So, we are going for an all-Knight approach.Josefin front,AdelandClivein back. Their endless procession of Lance Assaults and pursuits will make short work of these foes.
Lv.6 Wizard
We’re doing the same thing here that we did in Fort Colmarre.Josefin front,CliveandAdelin the back. Those wimpy wizards don’t stand a chance.
Lv.7 Warrior
We’re going to be honest, if there is a formula to beat this one when you are level 7, and only have units with three positions, we haven’t found it. You will likely encounter this sparring battle too early to win, so just come back when you have the ability to put four characters in a unit. Then, hit them withtwo Warriors, aGryphon Knight, and a regularKnight.
Lv.7 Soldier
Since we are fighting Knights, we are going to counter withGryphon Knights.HavingJoseftake the front row, and two Gryphon Knights in the back.
Lv.7 Shaman
You should be getting pretty close to having a four-person unit, which makes this one a breeze - just put aClericin the back row (likelySharon), and have twoKnightswith aWarriorfill out the rest of the unit’s roster. However, if you are still working with a three-member unit, go with a Warrior and Cleric in the back, with eitherCliveorAdelproviding the finishing blows up front.
Putting aCarnelian Pendanton your Warrior will make your life a lot easier.
Lv.8 Wizard
This one is easy enough. We’ll havetwo Gryphon Knightsin the back to take out their Radiant Knights, and we’ll pair them with our owntwo Radiant Knightsto disrupt their Wizards' attacks (Josefcan also sub in if you only have one Radiant Knight).
Lv.11 Swordfighter
Swordfighters are highly evasive and thrive off of deflecting physical attacks. However, these particular Swordsmen aren’t up to the task of dealing with theGryphon Knights.So, pile three in the back row, and haveJosefin the front doing his thing with his Pursuit attack.
Or, if you only have twoGryphon Knights, you can just put onevof your regularKnightsin the back.
Lv.12 Radiant Knight
Radiant Knights are excellent at defending against magic… they aren’t good at defending against Gryphon Knights swooping down and murdering them. You only need a singleWarriorand a singleGryphon Knightto finish this battle. Add whatever else you want, but it is just overkill.
Lv.12 Gryphon Knight
All you need istwo Gryphon Knightsto take care of the enemy’s Knights, and oneArcherto shoot their Gryphon Knight out of the air.
Lv.14 Shaman
Lv.14 Cleric
You need aClericto nullify the effects of the Shaman, but you may put whatever fighting classes you want in the other three slots. This is a shockingly easy spar.
For the sake of completeness, we used two Swordsmen, a Radiant Knight, and a Cleric. Not for any particular reason, that was just a unit we had on hand with a Cleric in it.